Using DeepStack with NVIDIA GPU
DeepStack GPU Version serves requests 5 - 20 times faster than the CPU version if you have an NVIDIA GPU.
NOTE: THE GPU VERSION IS ONLY SUPPORTED ON LINUX
Before you install the GPU Version, you need to follow the steps below.
Step 1: Install Docker
If you already have docker installed, you can skip this step.
sudo apt-get update
sudo apt-get install curl
curl -fsSL get.docker.com -o get-docker.sh && sh get-docker.sh
Step 3: Install NVIDIA Docker
The native docker engine does not support GPU access from containers, however nvidia-docker2 modifies your docker install to support GPU access.
Run the commands below to modify the docker engine
curl -s -L https://nvidia.github.io/nvidia-docker/gpgkey | \
sudo apt-key add -

distribution=$(. /etc/os-release;echo $ID$VERSION_ID)

curl -s -L https://nvidia.github.io/nvidia-docker/$distribution/nvidia-docker.list | \
sudo tee /etc/apt/sources.list.d/nvidia-docker.list

sudo apt-get update

sudo apt-get install -y nvidia-docker2

sudo pkill -SIGHUP dockerd
If you run into issues, you can refer to this GUIDE
Step 4: Install DeepStack GPU Version
sudo docker pull deepquestai/deepstack:gpu
Step 5: RUN DeepStack with GPU Access
Once the above steps are complete, when you run deepstack, add the args –rm –runtime=nvidia
sudo docker run --rm --runtime=nvidia -e VISION-SCENE=True -v localstorage:/datastore \
-p 80:5000 deepquestai/deepstack:gpu
Step 6: Activate DeepStack
The first time you run deepstack, you need to activate it following the process below.
Once you initiate the run command above, visit localhost:80/admin in your browser. The interface below will appear.

You can obtain a free activation key from register.deepstack.cc https://register.deepstack.cc
Enter your key and click Activate Now
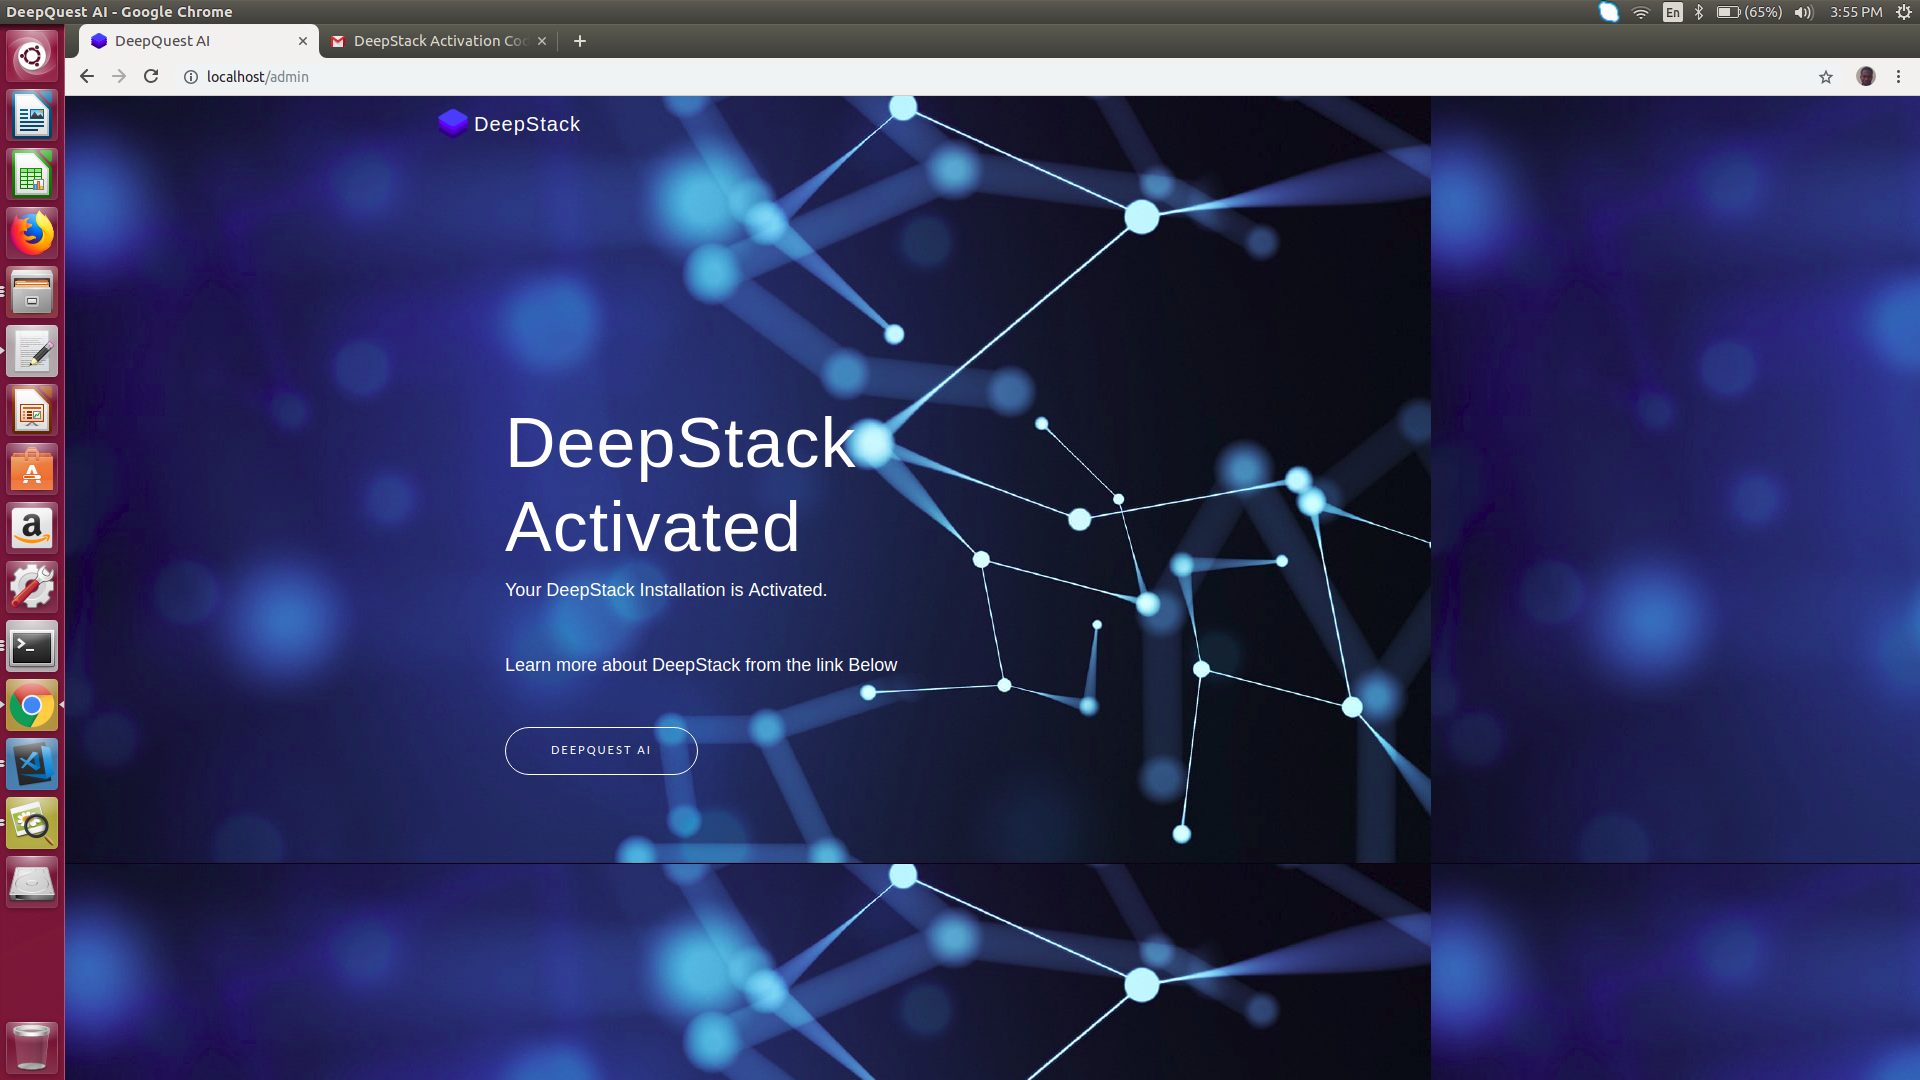
The interface below will appear.
This step is only required the first time you run deepstack.