Face Recognition
In the Getting Started, we had an overview of the face recognition API. In this section, we shall explore all the functionalities of the API.
Face Registeration
The face registeration endpoint allows you to register pictures of person and associate it with a userid.
You can specify multiple pictures per person during registeration.
Example
import requests

user_image = open("image1.jpg","rb").read()

response = requests.post("http://localhost:80/v1/vision/face/register",
files={"image":user_image},data={"userid":"User Name"}).json()

print(response)
Result
{'message': 'face added', 'success': True}
The response above indicates the call was successful. You should always check for the “success” status. If their is an error in your request, you will receive a response like
{'error': 'user id not specified', 'success': False}
This indicates that you ommited the userid in your request. If you ommited the image, the response will be
{'error': 'No valid image file found', 'success': False}
Face Recognition
The face registeration endpoint detects all faces in an image and returns the USERID for each face. Note that the USERID was specified during the registeration phase. If a new face is encountered, the USERID will be unknown.
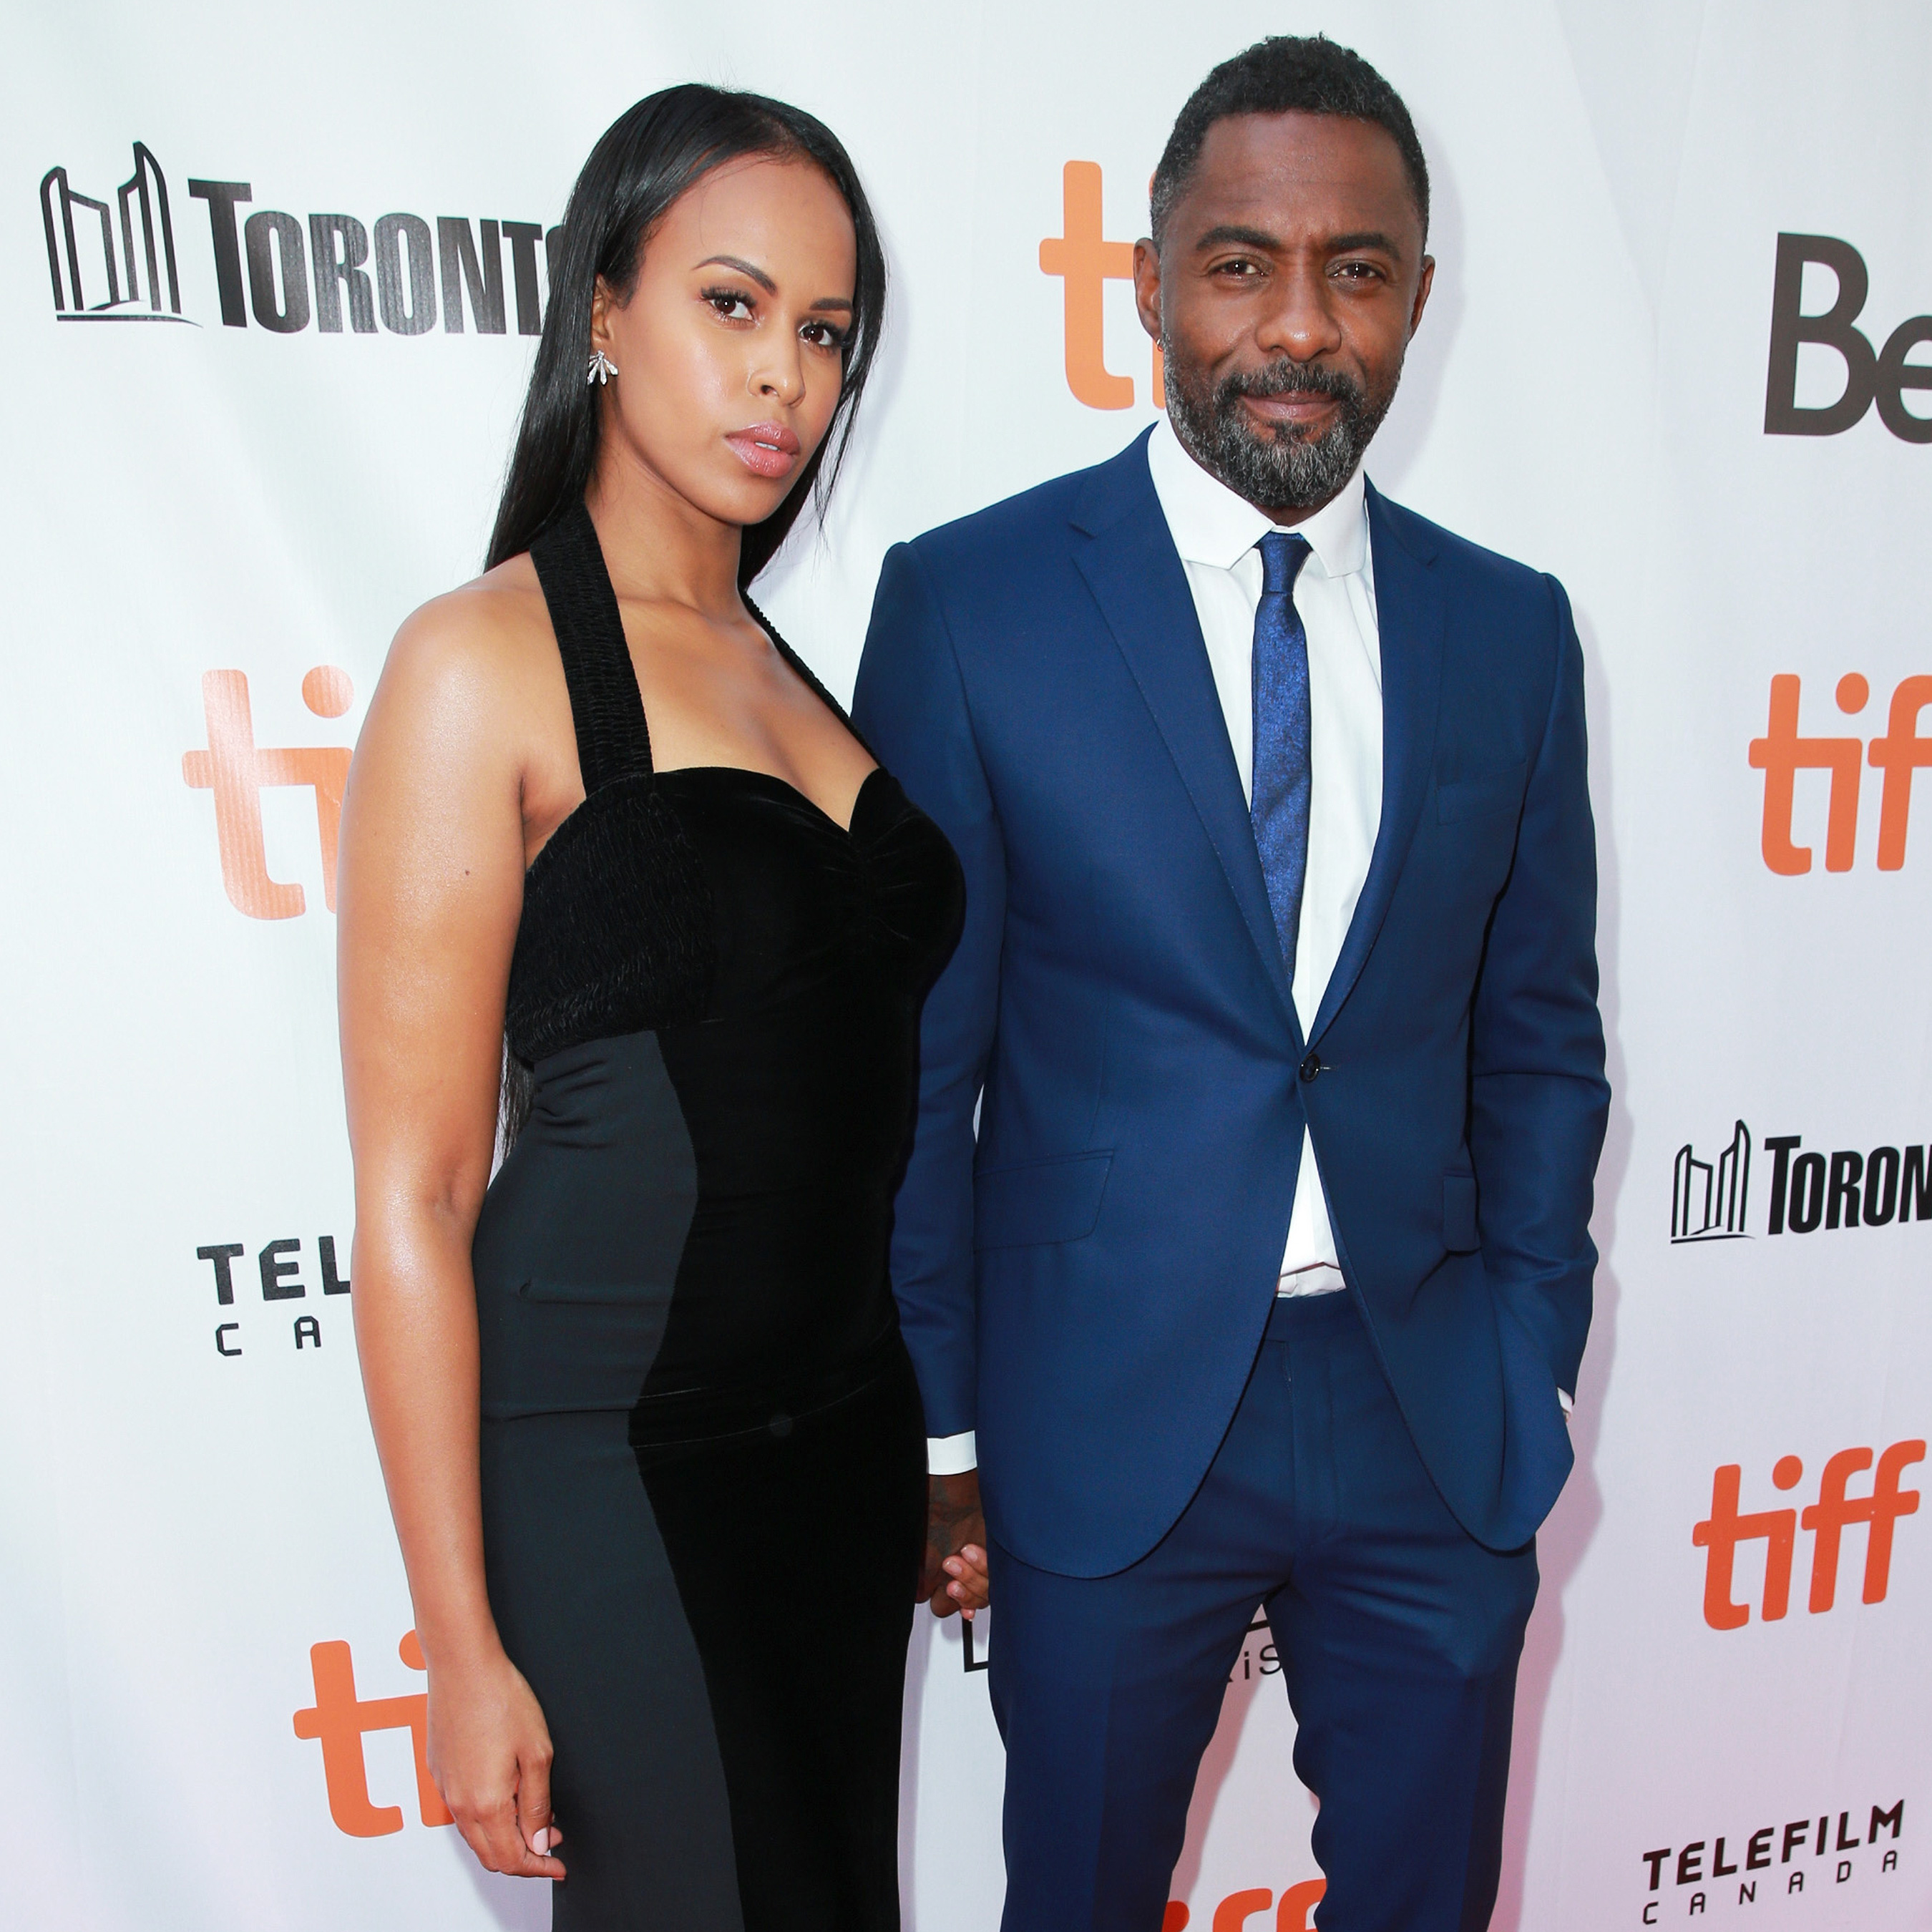
We shall test this on the image below.
import requests

image_data = open("test-image2.jpg","rb").read()

response = requests.post("http://localhost:80/v1/vision/face/recognize",
files={"image":image_data}).json()

for user in response["predictions"]:
    print(user["userid"])

print("Full Response: ",response)
Result
Idris Elba
unknown
Full Response:  {'success': True, 'predictions': [{'x_min': 215, 'confidence': 0.76965684, 'x_max': 264, 'y_max': 91, 'y_min': 20, 'userid': 'Idris Elba'}, {'x_min': 115, 'confidence': 0, 'x_max': 162, 'y_max': 97, 'y_min': 31, 'userid': 'unknown'}]}
As you can see above, the first user is unknown since we did not previously register her, however, Idris Elba was detected as we registered a picture of his in the previous tutorial. Note also that the full response contains the coordinates of the faces.
Extracting Faces
The face coordinates allows you to easily extract the detected faces. Here we shall use PIL to extract the faces and save them
import requests
from PIL import Image

image_data = open("test-image2.jpg","rb").read()
image = Image.open("test-image2.jpg").convert("RGB")

response = requests.post("http://localhost:80/v1/vision/face/recognize",
files={"image":image_data}).json()

for face in response["predictions"]:

    userid = face["userid"]
    y_max = int(face["y_max"])
    y_min = int(face["y_min"])
    x_max = int(face["x_max"])
    x_min = int(face["x_min"])
    cropped = image.crop((x_min,y_min,x_max,y_max))
    cropped.save("{}.jpg".format(userid))
Result


Setting Minimum Confidence
DeepStack recognizes faces by computing the similarity between the embedding of a new face and the set of embeddings of previously registered faces. By default, the minimum confidence is 0.67. The confidence ranges between 0 and 1. If the similarity for a new face falls below the min_confidence, unknown will be returned.
The min_confidence parameter allows you to increase or reduce the minimum confidence.
We lower the confidence allowed below.
Example
import requests

image_data = open("test-image2.jpg","rb").read()

response = requests.post("http://localhost:80/v1/vision/face/recognize",
files={"image":image_data},data={"min_confidence":0.40}).json()

for user in response["predictions"]:
    print(user["userid"])

print("Full Response: ",response)
Result
Idris Elba
Adele
Full Response:  {'success': True, 'predictions': [{'userid': 'Idris Elba', 'y_min': 154, 'x_min': 1615, 'x_max': 1983, 'confidence': 0.76965684, 'y_max': 682}, {'userid': 'Adele', 'y_min': 237, 'x_min': 869, 'x_max': 1214, 'confidence': 0.6044803, 'y_max': 732}]}
By reducing the allowed confidence, the system detects the first face as Adele. The lower the confidence, the more likely for the system to make mistakes. When the confidence level is high, mistakes are extremely rare, however, the system may return unknown always if the confidence is too high.
For security related processes such as authentication, set the min_confidence at 0.7 or higher
Managing Registered Faces
The face recognition API allows you to retrieve and delete faces that has been previously registered with DeepStack.
Listing faces
import requests
faces = requests.post("http://localhost:80/v1/vision/face/list").json()

print(faces)
Result
{'success': True, 'faces': ['Tom Cruise', 'Adele', 'Idris Elba', 'Christina Perri']}
Deleting a face
import requests

response = requests.post("http://localhost:80/v1/vision/face/delete",
data={"userid":"Idris Elba"}).json()

print(response)
Result
{'success': True}
Having deleted Idris Elba from our database, we shall now attempt to recognize him in our test image.
import requests

image_data = open("test-image2.jpg","rb").read()

response = requests.post("http://localhost:80/v1/vision/face/recognize",files={"image":image_data}).json()

for user in response["predictions"]:
    print(user["userid"])
Result
unknown
unknown
Performance
DeepStack offers three modes allowing you to tradeoff speed for peformance. During startup, you can specify performance mode to be , “High” , “Medium” and “Low”
The default mode is “Medium”
You can speciy a different mode as seen below
sudo docker run -e MODE=High -e VISION-FACE=True -v localstorage:/datastore \
-p 80:5000 deepquestai/deepstack
Note the -e MODE=High above